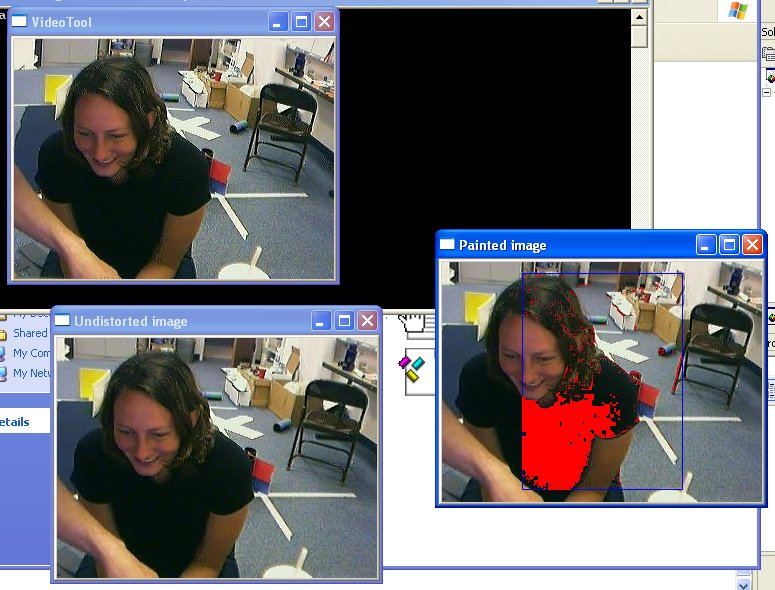
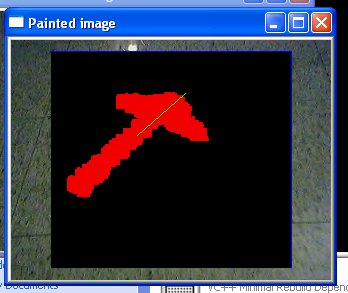
Alan Davidson, Mac Mason, Susanna Ricco, and Ben TribelhornWeeks 8-9: Pictures and MoviesWe began the second half of the semester by working on implementing arrow detection and following ("Go that way, little robot!"). We also wrote a program that plays Set as an exercise in vision. Our code can be found at setVideoTool.cpp For the game of set, we had to define methods for finding color, shape, texture, and number of cards. Finding color was simply finding the correct thresholds (one each for red, green, and purple), and counting the number of points that match each threshold. To determine shape, we "draw" three horizontal lines across the top part of the image and compare the slopes of the first intersection points with the shape. For the number of shapes we look for a shape on specific vertical lines. Given these same vertical lines, we look at a segment on that line to determine texture. We count the number of changes in color from the neighboring pixels and the number of pixels of the expected color. If there are many changes, then we know it is striped, if there are no changes (or too few) it is either colored or not (which can be determined by the number of colored pixels). Following arrows has been broken up into several stages:
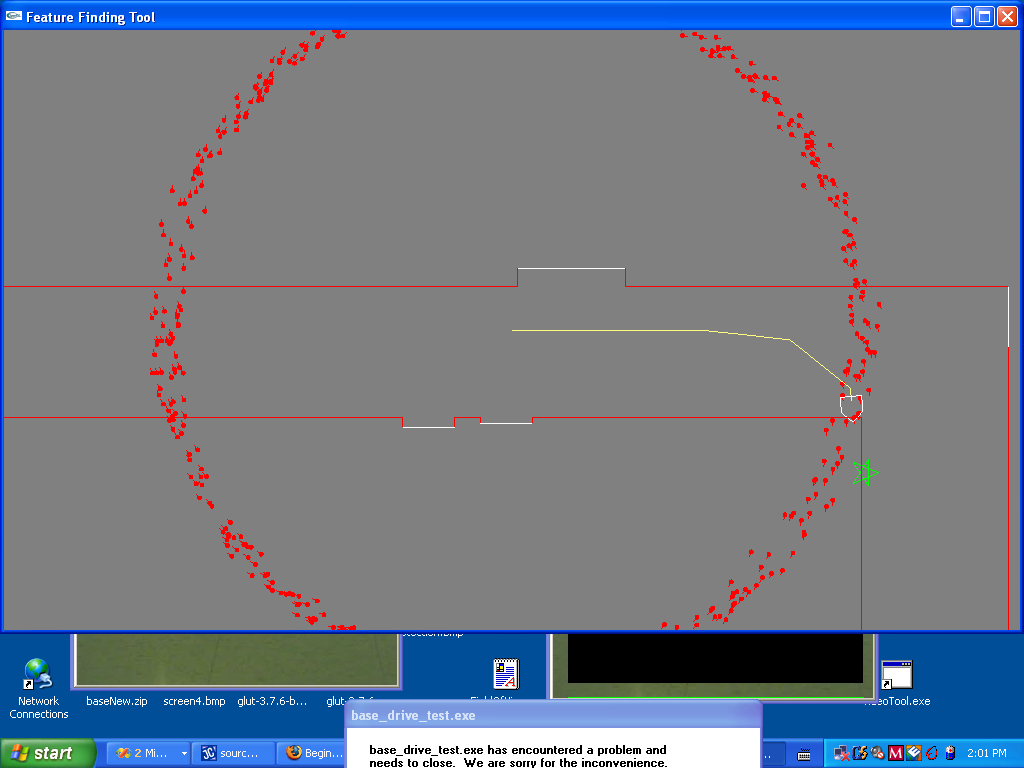
We have improved our arrow finding code to allow different colored arrows to be followed. (Although we had a mishap of following a stuffed dinosaur as if it were a red arrow). We have added a dynamic set of ranges for different object colors. During runtime the program now allows color ranges to be adjusted and specific to the arrow following routine we can change the number of opening and closings we do. However, the main functional change was in our client script. We added a new state for our robot entitled Linear Wandering, so that when the robot hits objects while following the arrows it will head straight rather than turn around and lose its sense of directional purpose. Object recognition has begun with many of the Wal-Mart objects linked to here. We created color profiles for most of these objects at runtime (which are saved to file). Much to our dismay, we learned that in the lower lighting of the corridor, the colors orange, pink, and red are the same to our cameras. Currently, we have assumed that arrow following implies an object at the end of the line. So, what we do when we find a bunch of "accepted" pixels is to check the number of pixels against a threshold. If it meets that criterion, then we calculate the object's distance in front of the robot and draw a star to the map. Next, we plan on using shape to differentiate objects. Eventually, we would like to be generating the map, but currently only have odometery to go by. Finally, we have mounted a second camera on our robot. Unfortunately, we have yet to find a programmatic way to select the camera we want to use. Instead, at runtime we are asked which camera to use. Ben thinks that this is a limitation of the Intel library we are using. The purpose of this camera is to be able to increase the view of the robot because the arrow following camera is angled downwards and highly calibrated. We would also like to make our second camera tilt, which would enable us to look upwards for future identification of people (by tags, shirt color, hat, etc).
Here is the entry submission to the AAAI Conference
which we sent in on May 2nd. |