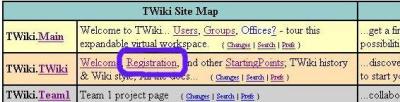
Click on the registration link as shown in the figure below.
You will be asked to fill out a form as shown below.
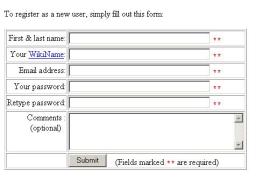
Enter your first name and last name separated by a blank. Your WikiName will be set automatically to FirstNameLastName. DO NOT ATTEMPT TO CHANGE YOUR WIKI NAME! Complete the rest of the form then click submit.
You will receive a Thank You page as shown below. Click OK.

You and I will receive email confirmation of your registration.
You'll be asked to complete the form shown in the following figure.
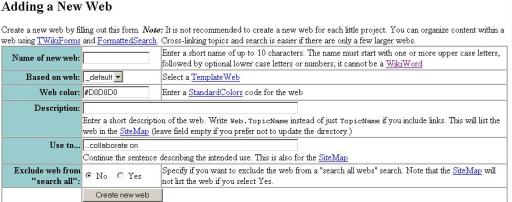
- The name of the web should be Teamkproj1 where k is the number of your team.
- Leave the _default choice for template unchanged.
- For the description use "Team k project 1 page" where k is replaced by your team number. (Don't omit this or your page won't be included in the site map!)
- You'll use the page to "collaborate on cs121 projects."
When you've completed the form click Create new web.
You'll be taken to a thank you page. Click OK.
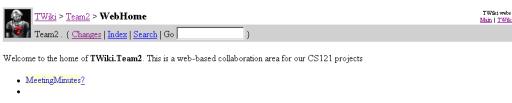
You'll be taken to your team's page.
If you go back to the link http://www.cs.hmc.edu/courses/2004/spring/cs121/twiki/bin/view/, you'll find a new listing in the TWiki Site Map for your team. Clicking the associated link will take you to your team's page.
If you click on the question mark after MeetingMinutes, you'll be taken to a page that looks something like the following.
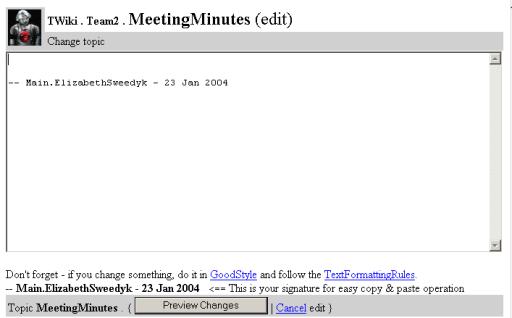
The cursor will appear in the edit window. Type "Set up our team's wiki." Then click on the preview button.
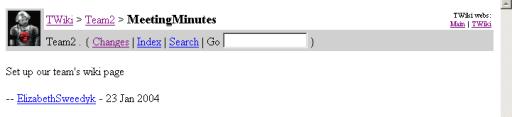
You'll see a preview of a new "MeetingMinutes" page. Click save changes.
You will be taken to the new page, which should be similar to the following.
At the top of the page, click on Teamk link to return to your team's page. You'll notice that MeetingMinutes is now linked to the new page and no longer has the question mark.
Click on MeetingMinutes to return to that page. To edit this page again, click on the Edit link near the bottom of the page as shown below.
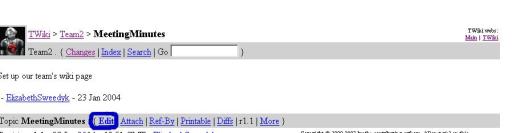
You can edit this page then preview the changes. If they are ok, then save them. During the process you'll have a lock on the page so no one else can edit it!

Click on the Edit link in this region. You will be taken to a page that includes a window something like the following.
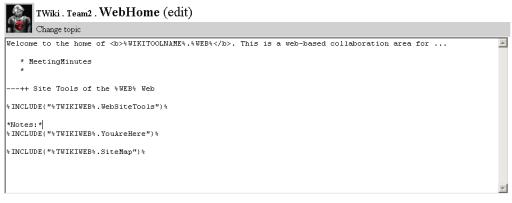
You can edit this window. Make the following changes:
- Edit the first line to conclude "collaboration area for our CS121 projects."
- After the "* MeetingMinutes" line add the lines "* RiskAnalysis" and "* Milestones"
Click Preview Change. You'll see a preview of the changes in the team page that should look something like this:
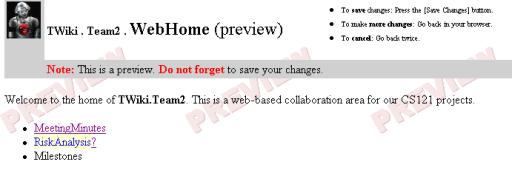
You'll notice that RiskAnalysis is ready to be linked (it has the question mark after it) but Milestones does not. Wiki will only make linkable entries of single words that have that have more than one capital letters. Return to the previous browser window (use back) and re-edit the page. This time add the line
"* OurMilestones" then click Preview Changes. Now OurMilestones should be linkable. Click Save Changes.