Implementation-wise, our project was divided into three pieces: getting sensory data from two webcams, processing that data to move the robot appropriately, and taking high resolution pictures of found documents. These three processes were entirely distinct (in fact, they were all written, technically, in different programming languages!), and communicated with each other as little as possible.
Sensory subsystem
(main file: cs154v1.vcproj)
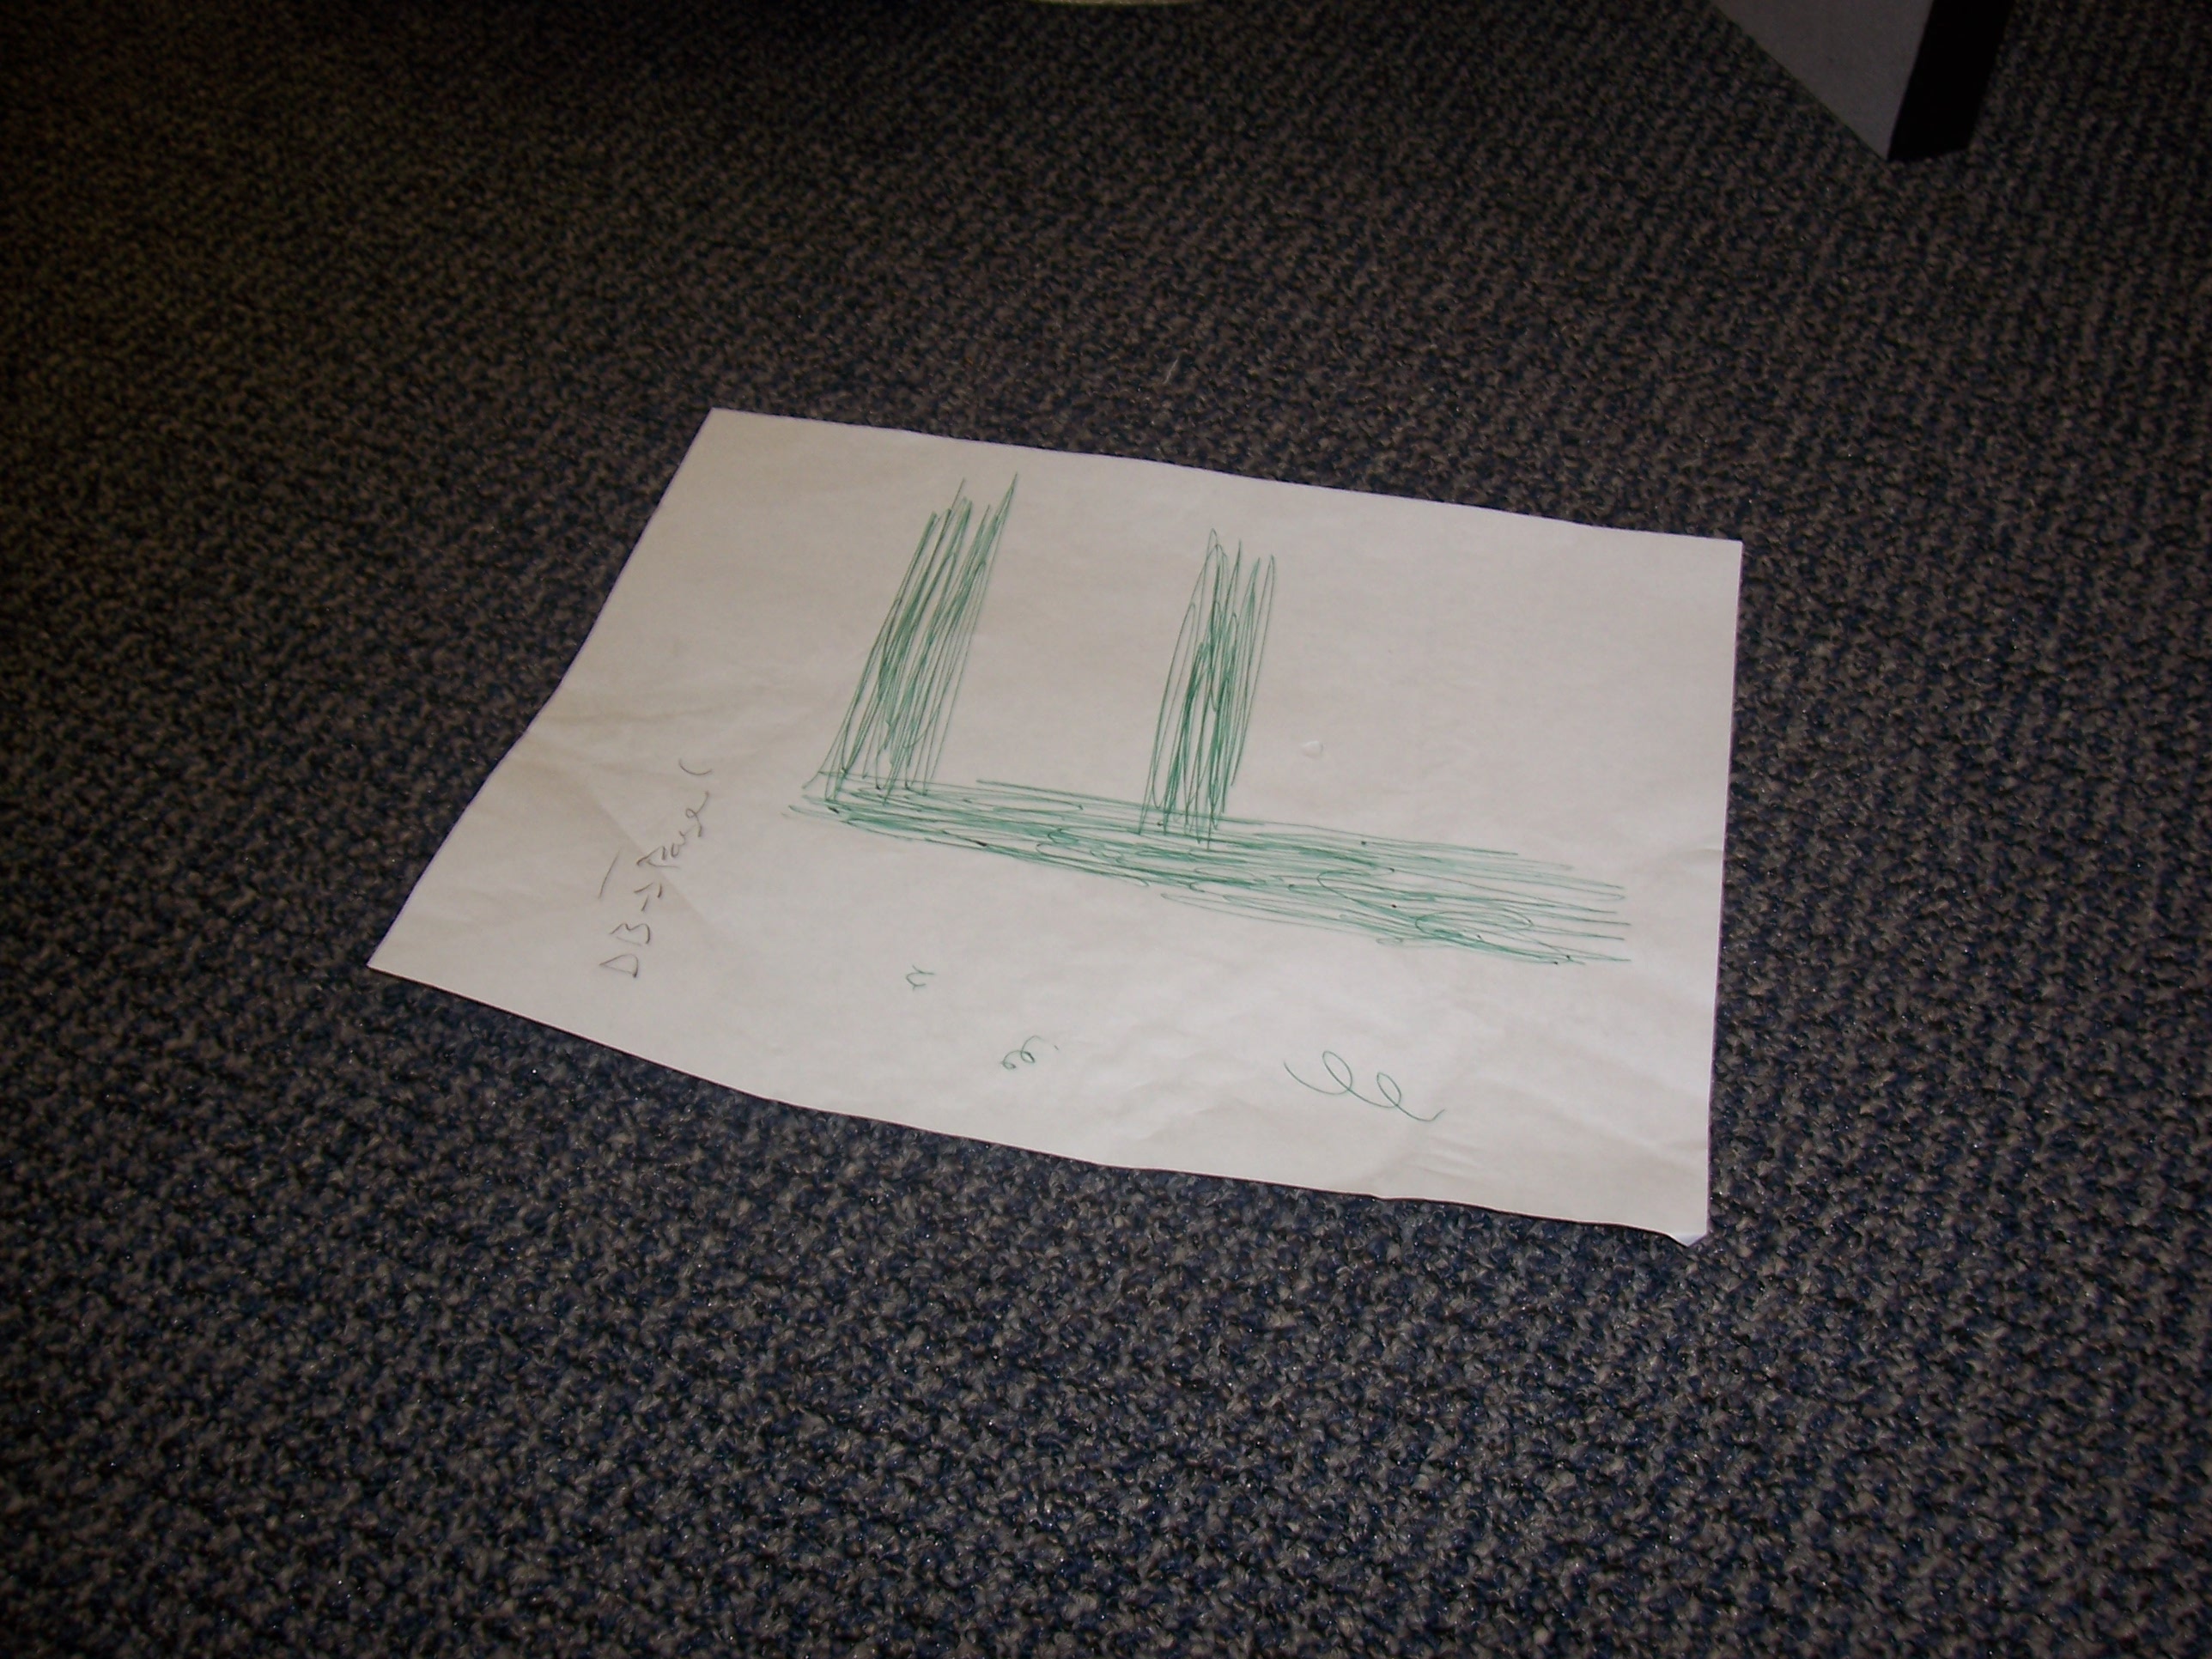
The first piece we worked on was camera i/o (written in c++, using OpenCV). After all, in order to find documents, you first need to be able to recognize them. Our first thought was to use Haar Wavelets, as this is the generally accepted way of determining whether a certain object - a document, for instance - is in a picture. But we decided against this, for two reasons: one, because we realized that it would take a fair amount of time to figure out how to actually use this approach, and that was time we didn't really have, but more importantly, because our camera just couldn't support that sort of approach. Ideally, we would have liked to differentiate between a piece of paper with text, and a blank piece of paper - but with the sensors we had to work with, papers looked something like this (this piece of paper actually had a single large 'F' written on it):

Clearly, then, any approach that tried to determine whether text was present, simply wouldn't work. So, we simplified our goal significantly, based on limitations of time and of our camera. Our goal would be simply to find white, reasonably rectangular objects - roughly the same OpenCV square-finding algorithm our clinic project used, in fact. But there was one major difference between what we had to do here and what we had to do in clinic: clinic pictures were assumed to be of high quality, whereas those taken by our sensors were very much the opposite. So we knew we needed to preprocess them a great deal. We tried a handful of approaches, but the simplest turned out to be the best: we took the saturation and value of each pixel, set that pixel's blue channel to (value)^6 * (1 - saturation)^5, and zero'd the other two channels. This removed pretty much all the noise in the image (that is, anything that wasn't basically pure white), allowing us to run the Canny edge-finding, contour-finding and polygonal simplification algorithms we used in clinic. We relaxed some of the constraints a bit, to account for the much lower-resolution images we were working with; the quadrilateral restriction, however, stayed. At that point, then, we obtained a picture that looked more like this (with the possible edges highlighted in green):

Of course, other white objects also show up after preprocessing, but most of them aren't very paper-like. For instance:
 -->
-->
Occasionally, we'd see something that wasn't paper get caught by our system (notably: the top of a particularly reflective computer case), but that's to be expected, working with such a simplistic technique and such little data.
In any case, once we find a set of possible documents, we then find the quadrilateral with the largest area, find its center, and save that point to a file. If no quadrilaterals were found in the image, we simply blank the file, thus indicating that no sensory data is available.
One more word about the vision aspect: we started out only using one camera, pointed towards the ground at about an 80 degree angle. This is obviously the angle we want to use in centering the robot on a document found on the floor... but of course, it makes it difficult to locate a piece of paper, without stumbling upon it by accident. So we added a second camera, of the same quality as the first and running the same paper-finding code, but at a higher angle and printing its output to a different file. This created some minor complications, as OpenCV makes it difficult to use multiple cameras concurrently, but eventually we figured it out, and called the sensory piece done.
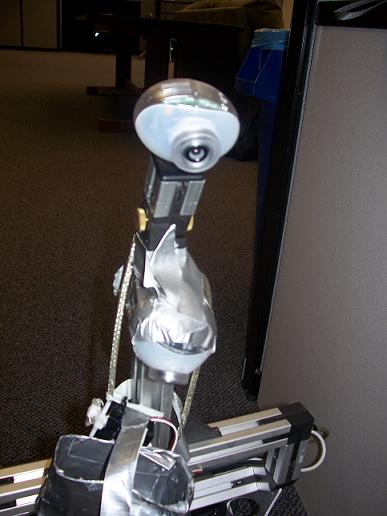
Our two eyes, mounted to the robot. The top one is attached in the usual way; the bottom one's held there with lots of duct tape.
Motion subsystem
(main file: main.py)
Once we had information about where documents were, we then had to figure out what to do with the information. This piece was written entirely in python, as that was the language our ER1 API was written in. Thus, after importing the provided ER1 motion code, we first directed our robot to center itself on the point written to disk by the bottom camera, if there was such a point. If not, then it would try to move towards the point found by the wider-angle camera, until such time as that document is picked up on the lower camera. If neither camera found anything, then it would wander randomly until that changed.
Complete random motion, though, isn't terribly effective, so we then modified that motion in a couple ways. First, we allow the motion to build up a little bit of momentum - that is, we bias its rotational and translational movement slightsly towards whatever they were just doing. Secondly, sometimes it goes into wander mode after having found a document, and then momentarily lost it. Thus, we also bias its motion towards the last direction it was intentionally moving. If, however, it loses the document and then fails to find it again, we allow this effect to fall off after a few cycles.
Picture-taking subsystem
(main file: arduinotester.pde)
Finally, once the bottom camera has found a document and centered on it, we needed a way for the robot to collect the picture. Our sensory cameras, after all, would be entirely useless for the purpose - we need a picture that we could run OCR on to capture the text inside the document, and those cameras can't even see any text. Thus, we created a holder for an actual digital camera, and a controllable digit that could be attached the holder, to press the button on the camera:
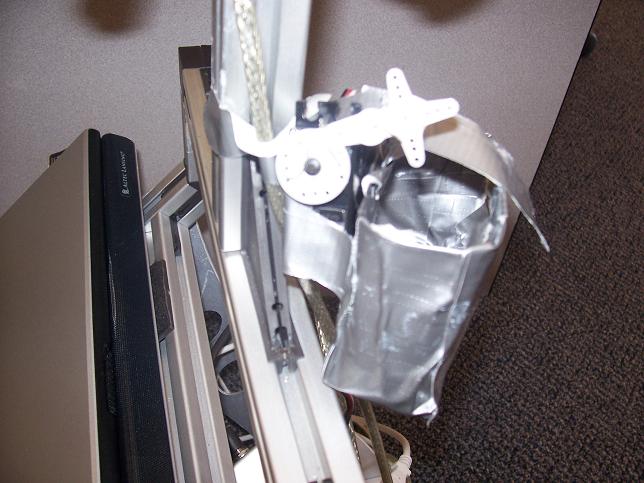
On the left, the front of our robot; the case is hanging loose, as the camera it was designed for was being used to take this picture. On the right, a side-view of the plastic digit.
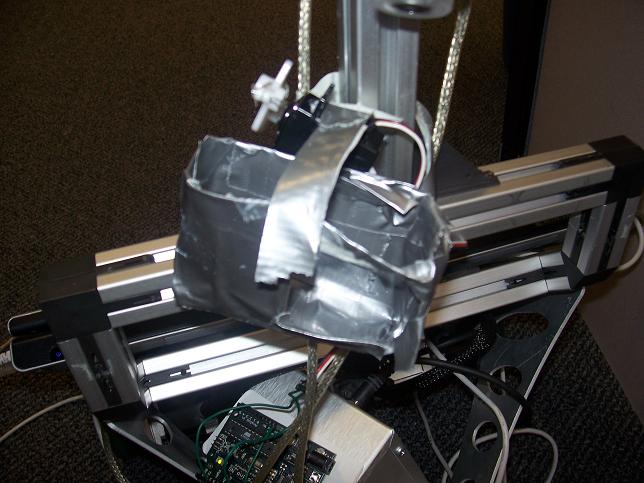
The digit itself was just made of plastic and wire, attached to a servo motor. The servo, in turn, was wired to an Arduino board taped to the robot's battery:
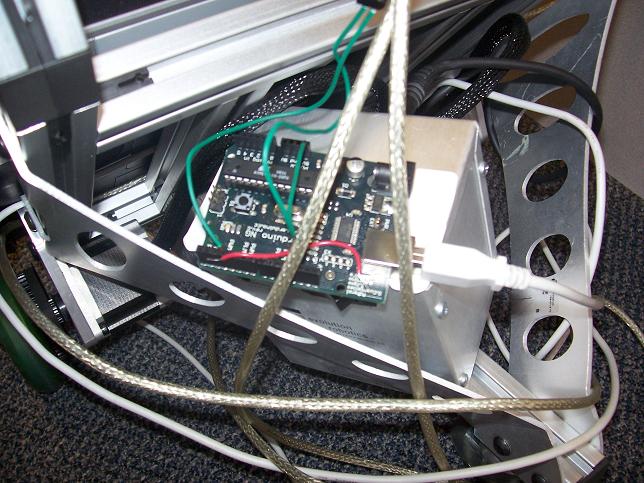
The Arduino is an I/O board that can be flash-programmed in its own language (though that language is basically c, so much that the Arduino IDE saves a copy of your code as a .cpp file before compiling it to program the board). Programming it was quite easy, once we knew where to look. It accepts input from usb, and can output analog signals to devices (such as servos) attached to it. Thus, we programmed the board, using the freely-available Arduino IDE, to sit, waiting for a signal from the motion system; upon succesfully centering itself on a document, the robot sends such a signal, then pauses, motionless, for several seconds. In this time, the Arduino, having received the signal, tells the servo to rotate, depressing the camera's button and capturing a digital photo of the document. 2 seconds later, it sends another signal telling the servo to resume its default state; the robot then makes a full 180 degree turn, and starts the process again from the beginning.
This all worked, theoretically; by itself, the digit would succesfully activate the camera 100% of the time. However, once everything was attached to the moving robot, the pieces started to misalign; by the time the robot signalled for a picture to be taken, the digit was no longer in the correct position, and couldn't depress the button enough to activate the camera. Therefore, we are forced to admit that while duct tape is amazing at sticking two large objects together, it's much less effective at forcing large objects to remain in the same relative position with each other, while both are being jostled. Our system fundamentally worked, but would have required slightly more expensive materials to implement effectively in hardware. Thus, this is a mockup of the sort of picture we would expect would be taken; it was taken by hand, near the robot's position. It was not actually taken by the robot, sadly, though I'm confident that it could have been, given a bit more work: