Lab 5: Neural Style Transfer
Introduction
In this lab, you'll take an image and then apply the style of an artist to it (original paper).
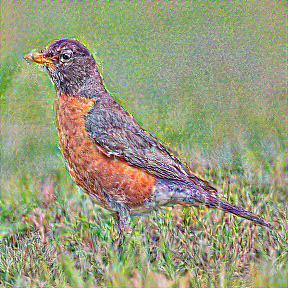
You'll take a picture of a bird:

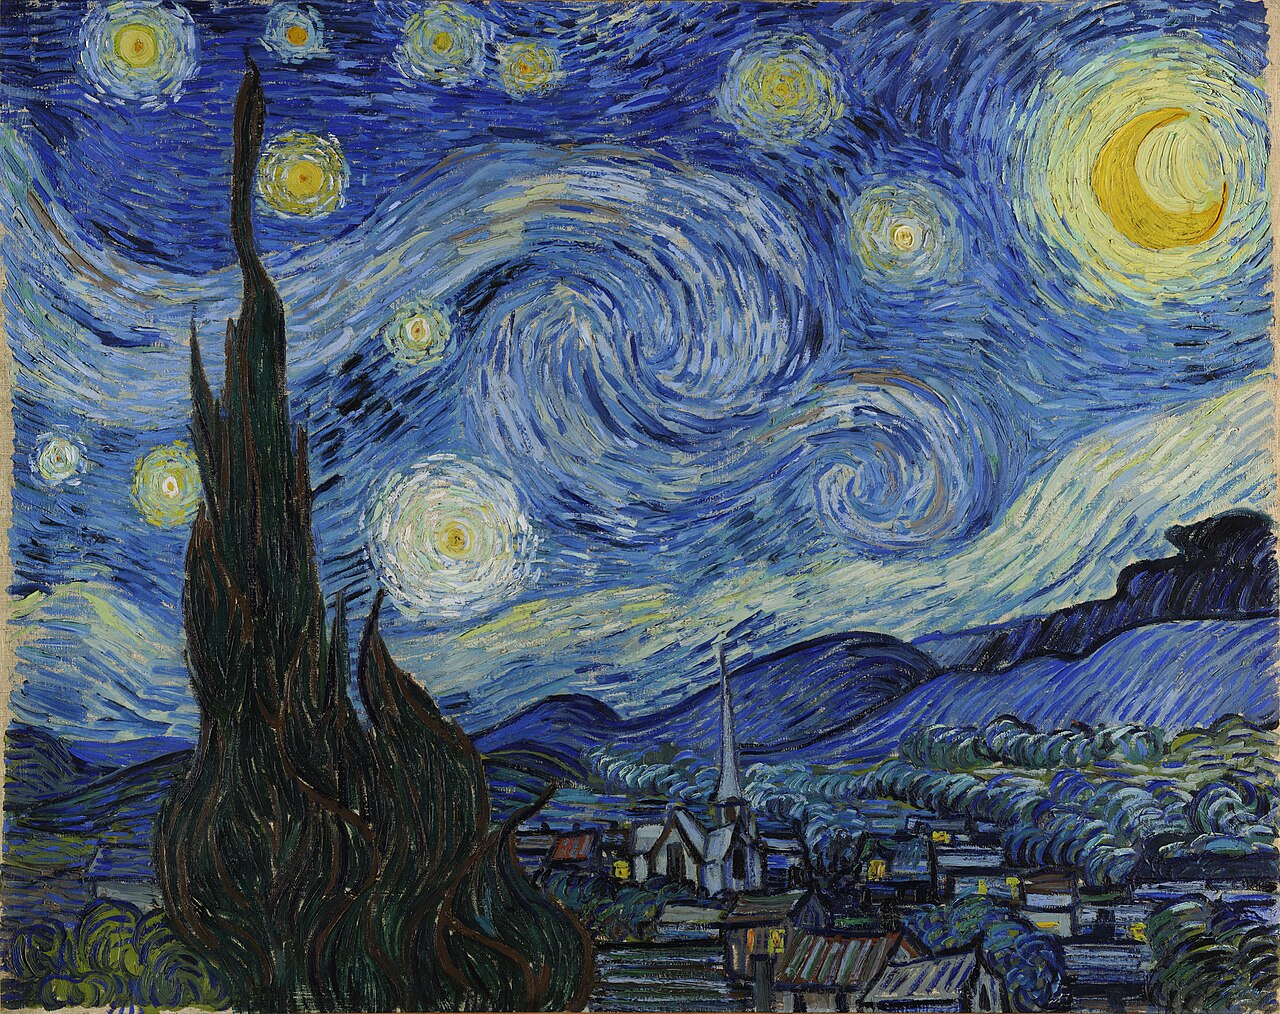
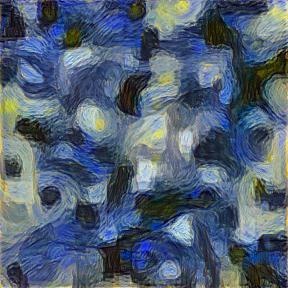
and then apply the style of Van Gogh's Starry night:
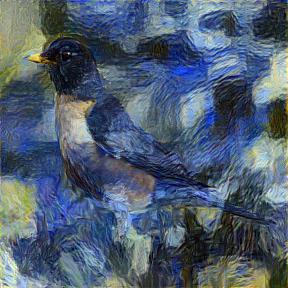
yielding something like:
Approach
You'll be doing gradient descent to update values, but instead of updating the weights in a Neural network, you'll update the pixels in the picture that is fed into the NN.
Here's a sample notebook that shows how you can use gradient descent to update inputs in PyTorch.
Parts
Part 1
In the first part, you'll use the content picture and attempt to recreate a similar-content picture starting from random pixels.
Steps
- Resize the content picture to 224x224.
- Create a random tensor which'll represent an image also of size 224x224.
You'll be feeding this tensor into the neural network. What shape should it be?
What is the batch size? What are the number of channels?
- Create your VGG19 model:
m_vgg = vgg19_bn(pretrained=True).cuda()
Note that this model has fully-connected layers at the end which you don't need.
You can remove them, if you wish, so that your training runs faster.
- Make sure your model is frozen (you do not want to update the weights of the Neural Network). You can obtain the parameters (learnable Tensors) of a model with m_vgg.parameters(). Given a parameter, p, you can freeze it with: p.requires_grad = False.
- You'll need a way to get at the activations at a particular layer of your model.
Model hooks are a good way to do that.
For example, hook_outputs will save the activations of any passed-in modules.
In particular, you'll want to save the output of the second Conv2D layer between the next-to-last MaxPool and the previous MaxPool.
- Convert your resized content image to a tensor (image2tensor will do such a thing).
- Run your model with your content image tensor (just call the model as a function, passing in the content image tensor).
Save the output of the appropriate Conv2d layer.
This represents the content of the content image.
- Now, you will run your optimizer and optimize the input.
You should use a MSE loss between the output of the appropriate Conv2d layer of the input, and the output of the appropriate Conv2d layer of the content image.
- When you're done, your tensor that was originally random should now look like a bird.
Here is an example of what the output might look like:
Hints
- A uniform random starting image (
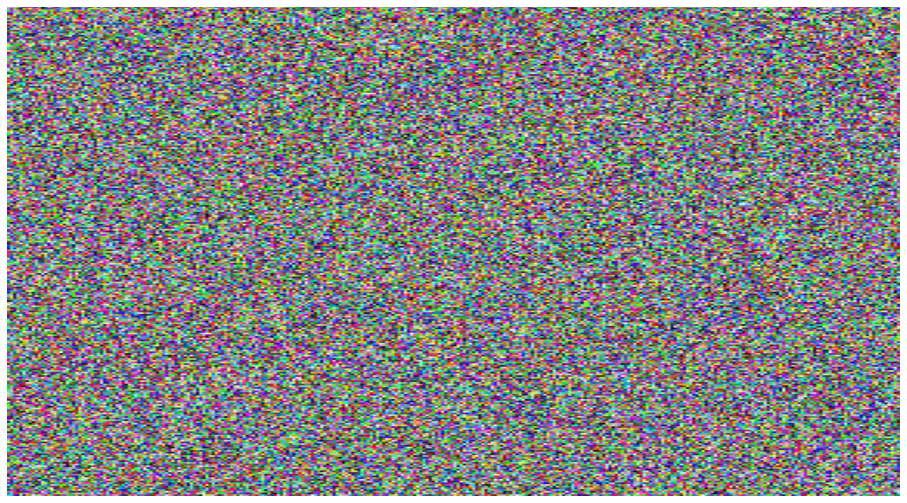 ) does not work as well as a smoother random starting image (
 ).
One way to smooth is to use a median filter from SciPy:
).
One way to smooth is to use a median filter from SciPy:
smooothed_random = scipy.ndimage.filters.median_filter(random, [8,8,1])
- You can retreive the children of a model with m_vgg.children().
- You can extract a Sequential model from an existing model and just use that.
- You'll probably need to run 500-1000 epochs in order to get a good-looking picture.
However, don't wait until then to look at the picture. Every so many epochs, write
out the picture so far.
- The LBFGS optimizer works well for this problem.
- When converting a picture to a tensor to pass into the VGG model, you'll need to
- Divide by 255 (so that you're in the range 0..1 instead of 0..255).
- Normalize it (because the VGG19 pretrained model normalized each of the R/G/B pixels.
Normally, the Fast.ai dataloader takes care of this normalization, but you're not using dataloaders.
To normalize, you can use:
      from torchvision import transforms
      means, std_devs = ((0.485, 0.456, 0.406), (0.229, 0.224, 0.225))
      normalize = transforms.Normalize(means, std_devs)

      normalized_tensor = normalize(img_tensor)
- By default, hook_outputs will detach the tensor from the history, meaning that the
outputs can't be used as a basis for back-propagation. Since you'll be calculating the loss based
on the hook outputs, and since you need the gradient of the loss w.r.t. the input, you won't want
the hook outputs to be detached.
- By default, models are in training mode, where dropout applies, and batchnorm adjusts each batch's std. dev. and mean based on the std. dev. and mean of the batch. In prediction mode, dropuout is turned off, and batch norm scales based on the saved std. dev. and mean.
To switch to prediction mode, use: model.eval().
- Before converting the tensor back to a picture, you'll need to un-normalize. You can do that with:
class NormalizeInverse(transforms.Normalize):
    """
    Undoes the normalization and returns the reconstructed images in the input domain.
    """

    def __init__(self, mean, std):
        mean = torch.as_tensor(mean)
        std = torch.as_tensor(std)
        std_inv = 1 / (std + 1e-7)
        mean_inv = -mean * std_inv
        super().__init__(mean=mean_inv, std=std_inv)

    def __call__(self, tensor):
        return super().__call__(tensor.clone())

  denormalize = NormalizeInverse(means, std_devs)

  denormalized_tensor = denormalize(normalized_tensor)
- In order to save a tensor to an image file you can use the save_image function from torchvision.utils.
Part 2
In this part, you'll change your loss function so that you're no longer trying to match the content of the content image, but instead match the style of the style image.
The style is represented by activations of many different layers.
You'll want to repeat much of what you did in part 1, except that you'll save the activations of more layers: the first Conv2d layer and then the first one after each maxpool.
In addition, the loss will be different.
For each layer of activations, you'll create a Gram matrix.
The loss should be the average MSE loss across all layers between the Gram matrix of the image-being-optimized and the style image.
Here is an example of what the output might look like:
Hints
- Resize the style picture to 224x224.
- You may find that you need to scale your loss if it is too small. Otherwise, the gradient may underflow.
Part 3
For this part, you'll use a combined loss that takes into account both the content loss and the style loss.
Hints
- Just call the model once and calculate a combined loss.
You don't want to run the image through the model for each of the two losses you'll be calculating.
- You'll need to balance the content and style losses.
Consider printing both losses and scaling so that they're the same order of magnitude.
Challenges
Utilize the fact that the GPU can work on batches simultaneously.
Use 10 different content images and 10 different style images and apply Neural Style Transfer to all 10 at once by putting them in a single batch.
Take advantage of any tensor operations that you can do in parallel (for example, calculating the Gram matrices).
Use full-size images rather than 224x224 images (for content, style, and the new image).
The paper says that better results are obtained by replacing MaxPool layers with AvgPool layers. Do that replacement and evaluate whether you get better-looking results.
This completes the lab.
Submit instructions
- Make sure that the output of all cells is up-to-date.
- Rename your notebook:
- Click on notebook name at the top of the window.
- Rename to "CS152Sp21Lab5 FirstName1/FirstName2" (using the correct lab number, along with your two first names).
I need this naming so I can easily navigate through the large number of shared docs I will have by the end of the semester.
- Choose File/Save
- Share your notebook with me:
- Click on the Share button at the top-right of your notebook.
- Enter rhodes@g.hmc.edu as the email address.
- Click the pencil icon and select Can comment.
- Click on Done.
- Enter the URL of your colab notebook in this submittal form.
Do not copy the URL from the address bar (which may contain an authuser parameter and which I will not be able to open).
Instead, click Share and Copy link to obtain the correct link.
Enter your names in alphabetical order.
- At this point, you and I will go back and forth until the lab is approved.
- I will provide inline comments as I evaluate the submission (Google should notify you of these comments via email).
- You will then need to address those comments. Please do not resolve or delete the comments. I will use them as a record of our conversation. You can respond to them ("Fixed" perhaps).
- Once you have addressed all the comments in this round, fill out the submittal form again.
- Once I am completely satisifed with your lab, I will add a LGTM (Looks Good to Me) comment
- At that point, setup an office hour appointment with me. Ill meet with you and your partner and we'll have a short discussiona about the lab. Both of you should be able to answer questions about any part of the lab.
'